Fuel for Thought

Truck A/C & Heat Alternative
If you read my previous articles about Auxiliary Power and New APU Part 1 & Part 2, you know that I decided to try out a gas generator for many reasons over my traditional diesel APU. While the power source has been a success so far, I was interested in a quieter, more efficient HVAC alternative. The under-bunk HVAC unit of the Carrier Comfort Pro is not exactly quiet and can have cooling issues above 105 degrees. The 3500 watt inverter generator I installed can run it, but the APU HVAC is a power hog. So I began looking into alternatives for heating and cooling. I could not add a rooftop unit (too tall, no flat surface), and honestly, some of those rooftop units, while they work very well, can also be a bit noisy. I started to look closer at the mini split units. If you are like me, looking for an alternative to pricey APUs and the repair costs that go with them, read on.
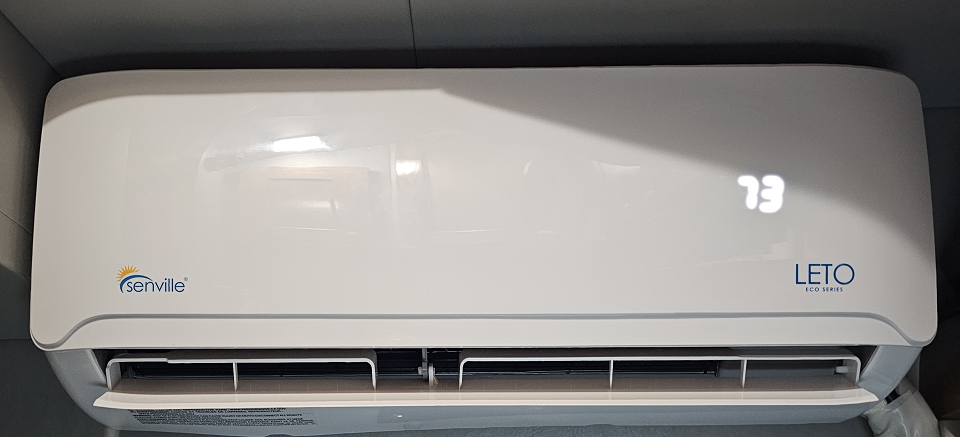
So, you have been thinking about putting a mini split air conditioner/heat pump on your truck. Why not? There are plenty of drivers posting about theirs on social media. There are also plenty of youtube videos about installing one on a truck.
These units use very little power. A small generator or possibly even an inverter can run one of these units with ease. These smaller units will run at only about 800 - 1500 watts. This is equivalent to about 6.7 - 12.5 amps. So very low power consumption. The in-cab unit runs quieter than any APU HVAC unit that I have ever owned (I have owned two different APUs). The outside unit is so quiet that you might even check to be sure that it is running. A 9000 BTU mini split can freeze you out in a sleeper and cab within minutes, even on a 100+ degree day. A 6000 BTU would be sufficient for any factory sleeper.
While the installation may seem daunting to some, it really is DIY friendly. If you have basic tools, some general building skills and just a couple of specialty tools, practically anyone can install one of these units either on a truck or in your home.
While the units generally come pre charged with refrigerant (freon), you will still need to use a vacuum pump to evacuate the air in the lines that run between the two units. I have seen where some people skip this step and leave the air in the lines. You can skip this step, but it may reduce the performance or longevity of the unit.
If you need to shorten the copper lines for your installation, you will need a tubing flaring tool to replace the compression fittings to the end of the lines.
Aside from building some custom brackets, the installation was pretty straightforward. Mount the inside unit, route the lines out of the cab, mount the outside unit in a suitable location, connect the lines, connect the power cable and the communication cable, vacuum the lines (with a vacuum pump), release the refrigerant and you’re all set. If you do not mount the compressor (outside unit) to your cab, make sure to allow for cab movement when routing the lines and cables. Try to position them so that when the cab bounces there is enough slack in the lines to allow the movement without pulling or breaking the tubing or cables.
Some drivers will say to just get an APU and be done, for many the status quo is good enough. I am always looking to learn new things and try new ideas. While I still have an APU on the truck, I now also have a generator and a mini split. The new set up works great, is much, much quieter than the APU and more efficient. The new generator and mini split also give me alternatives for when the diesel APU is down for repairs.
Since I have not used this mini split unit for heat yet, I cannot say how well it will work in extreme cold, but I can say that in 108+ degree temps, it has the ability to keep you, your cab and sleeper very cold.
A creative man is motivated by the desire to achieve, not by the desire to beat others.
- Ayn Rand
See you down the road,
Greg
